

Playing with light photography tutorial
Indoor creative photography experiments
Its windy, cloudy, rainy and cold at the moment (where I live anyway). Because of this I haven't got out and about with my new camera as often as I've wanted to.
Anyway, I decided to do some light painting experiments indoor instead with some interesting and cool results. I've documented how I did it in case it inspires anyone else to have a go.
You will need:
- A camera that you can set a long exposure time on
- A smartphone
- A tripod
- A dark room
- Pieces of card, or some kind of backdrop
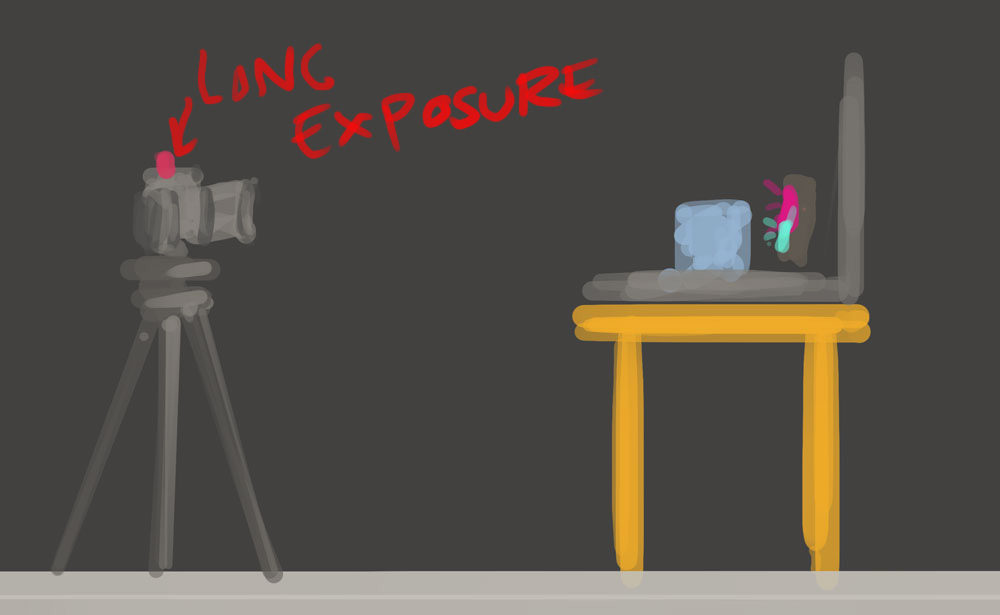
Step One: The set up
I set up my camera on a tripod facing a small table with two black pieces of cardboard propped up on it to create a backdrop. Then I placed an object on the backdrop (in my case one of my lenses).

I used a 50mm lens but you can use any lens you want as long as your object is in the frame and in focus.
For this to work, the room needs to be in near darkness.
Step Two: Setting up your light source
I found a bright image on my phone and put it on the screen.

Step three: Setting up the Camera
For this particular picture I set my camera to a low ISO (50), set the f stop to f/5.6 and set the exposure to 30 seconds. With all that set up I clicked the shutter.
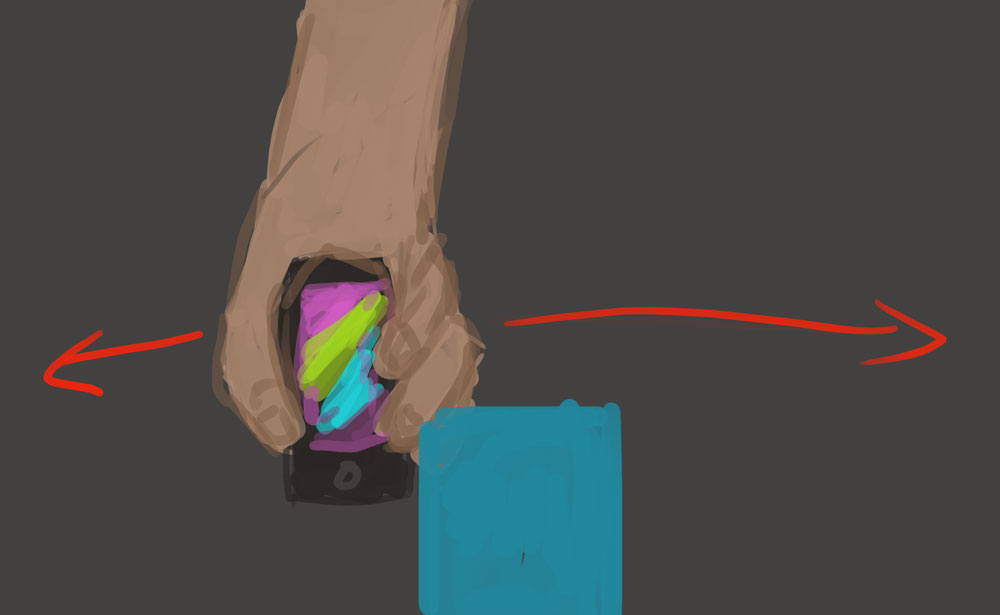
Step four: pretty lights
Now the fun bit. I took the bright image on my phone and waved it behind the object. It will probably take a few goes to get it how you want it, but the fun bit comes in the experimenting. You can also try changing the camera settings to see what results you can come up with.
The results
I also tried playing with the LED light on my keyring with some interesting results...
Well, there you go. I hope you like this tutorial. I'm going to continue to practice with this technique to see what stuff I can come up with.